Talking about VMs shutdown operation, we got few ways we could do it in Azure:
- Stop VMs manually from the Portal.
- Running the
azCLI command, described in How to easily Start, Stop, Restart or Delete Azure VMs. - Using Azure PowerShell module.
- Using the REST API.
- Talking about dozens of VMs, Schedule Automated Start and Stop for Azure VMs.
- And the last but not least, the
Azure auto-shutdown featurethat we’ll describe in the steps below.
Prerequisites
- Azure subscription
- Azure VM
Azure Auto-shutdown feature
Step 1. Open a browser and login to the Azure Portal.
Step 2. Type VMs in the search console, and click Virtual Machines.
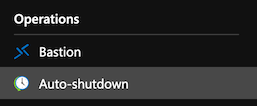
Step 3. Click on the VM you want to implement this feature, and click Auto-shutdown under Operations.
Step 4. Update the configuration according to your scenario:
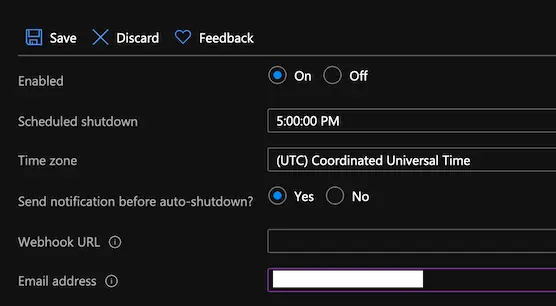
Note(s):
- If you want to enable notification, as in the screenshot above, the email address is a required field though.
Webhook URLoption could be used as well, in case you need to trigger any event, after the VM shutdown operation.- You could also configure the
Auto-shutdownfeature during the VM creation.
Step 5. Click Save.
Conclusion
To sum it up, Auto-shutdown feature could definitely save us time from doing the things the old school way, by writing and scheduling PowerShell, bash, or even az command scripts. Feel free to leave a comment below and if you find this tutorial useful, follow our official channel on Telegram.